
To activate the newsletter option in the “Pixel” theme and link it to the free MailChimp service, you can follow these steps:
Create a MailChimp account: If you don’t have an account, sign up for free from this Mailchimp link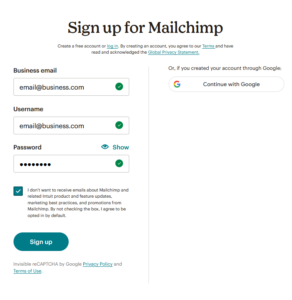
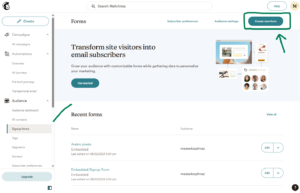
Setting up an email list: After logging into your account, go to Signup forms located under the Audience menu and click on the Create new form button at the top right of the page.
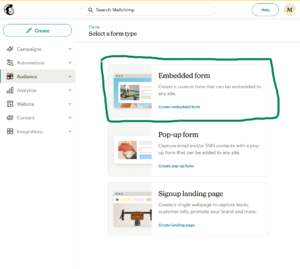
On the next page, choose Embedded Form
Then add a name to the form, for example Newsletter, then click on Begin
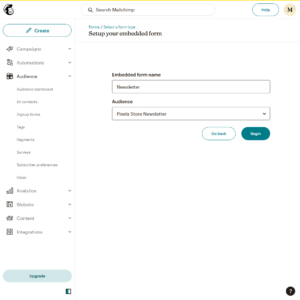
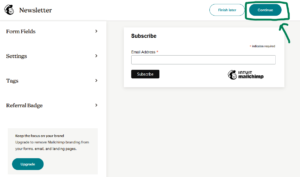
On the next page, we click on continue without changing any settings
After that, the code page for the Form appears to us. We only need one of these codes, which is located after the word form action, as shown in the picture. We copy it without the “ ” marks, just the link inside them.
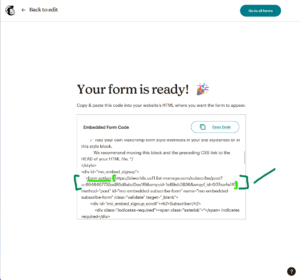
The link I got from Mail Chimp looks like this:
https://aiworldx.us11.list-manage.com/subscribe/post?u=8648467755ad86d6abd2ea1f9&id=1e89eb3836&f_id=007ea4e1f0
If there are errors the feature will not work correctly, then click on Go to all forms.
Store settings: After copying the link, go to customize the theme, then at the bottom of the page, newsletter settings
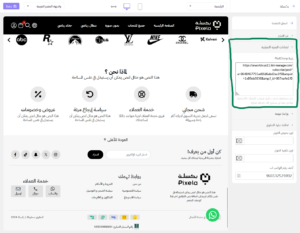
After that, you save the changes. If all the steps were followed correctly, the Newsletter is now working. To try it, you can add an email and click Subscribe.

When you return to Mail Chimp and go to Audience, then All contacts, you will find a list of customers who have subscribed to your website’s Newsletter, and you can use it later in marketing. If you need help linking, or you have a suggestion for us to make the process easier, or you want to add a feature that is not currently available on our theme, contact us via WhatsApp. Thank you.